Good morning, friends!
I’m pretty excited about today’s post. Because I’m seriously thrilled with how amazingly clean and organized our kitchen feels after completing this week’s challenge.
I LUUUUUV it.
And I think you’re gonna love these before and afters, too!
Have you been following along with my 10 week organizing challenge?
Last week I focused on taming the paper clutter and setting up a command center as well as tweaking our command center.
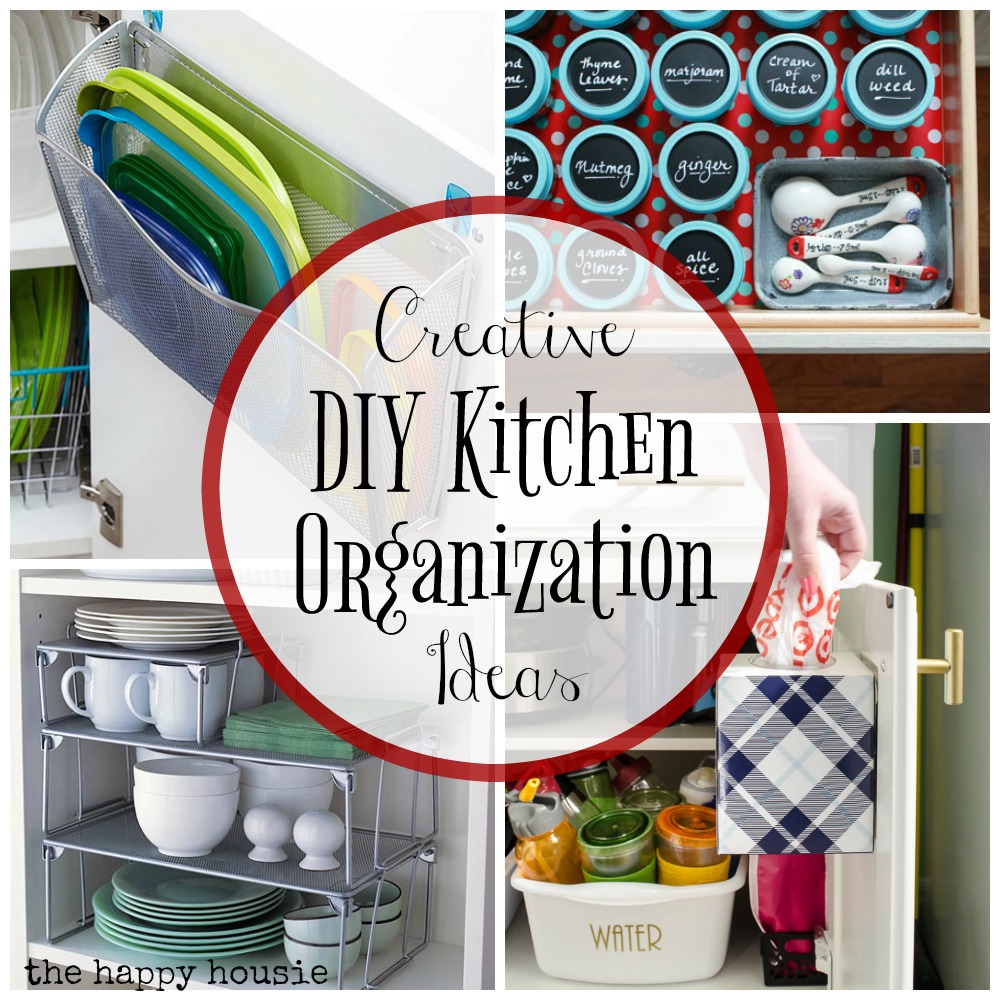
This week I’ve shared some awesome kitchen organization ideas and my DIY giant chalkboard kitchen planner.
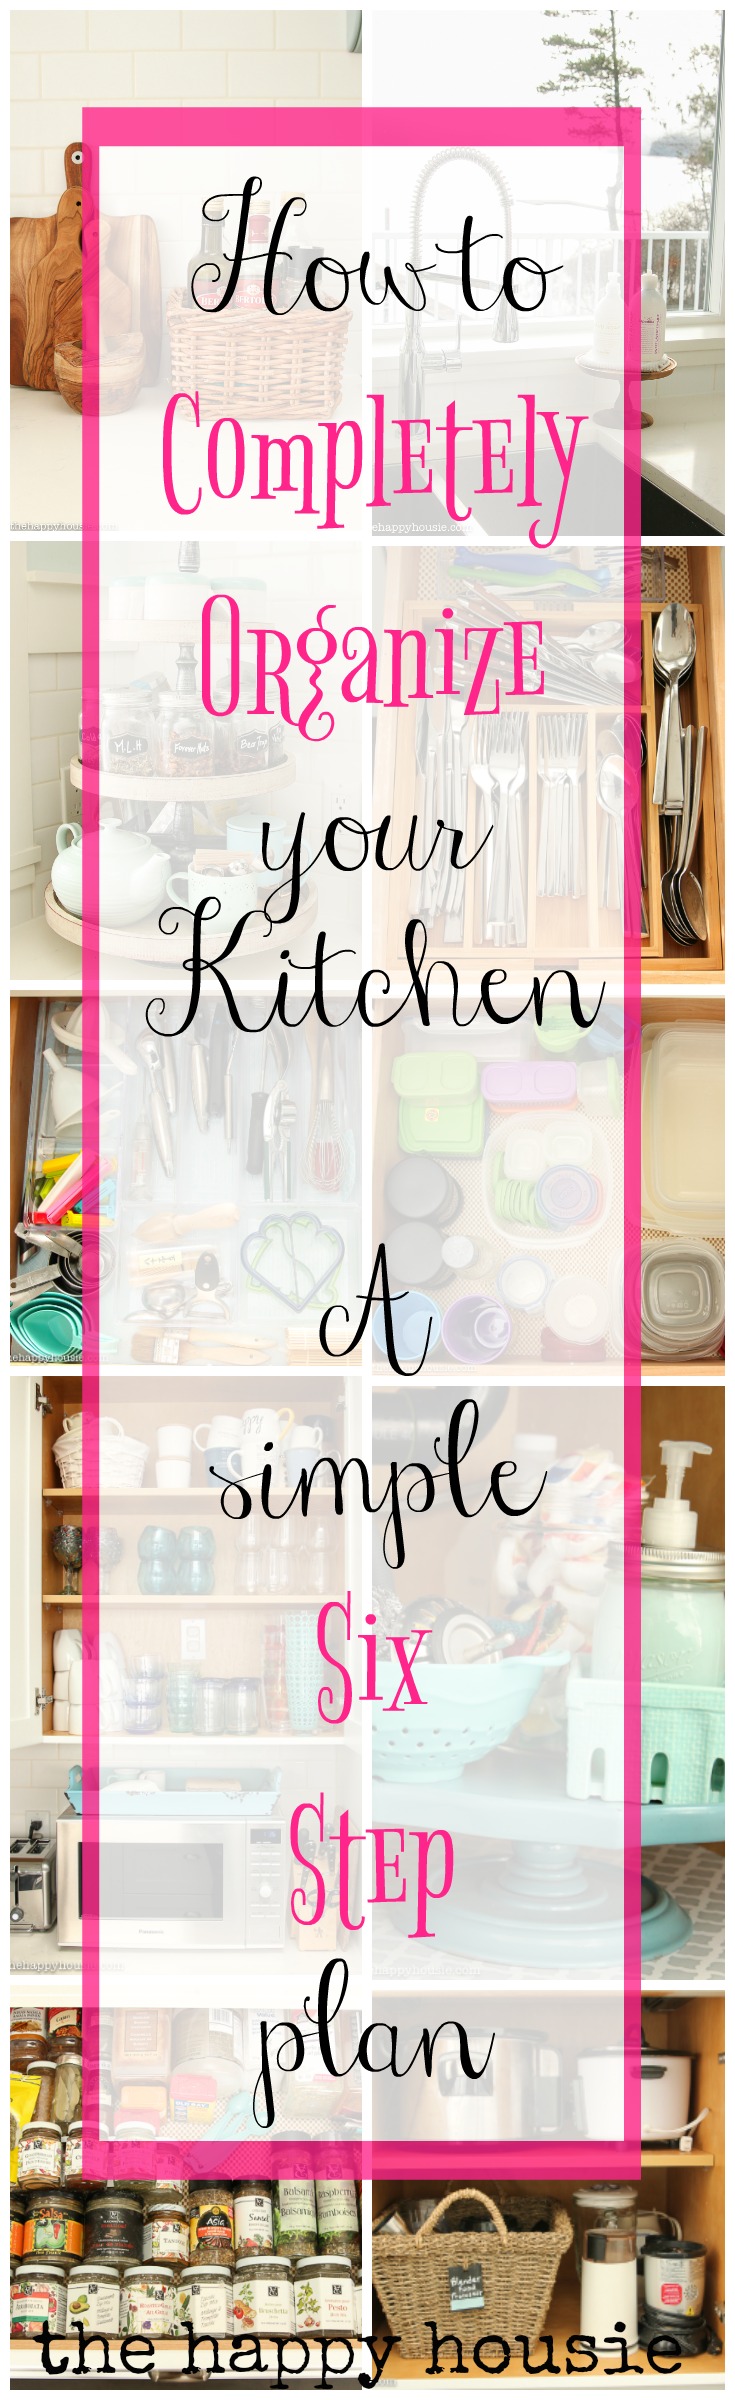
But today is all about how to completely organize your kitchen and the transformation that our kitchen went through last weekend!
So let’s get started, shall we?
To completely organize your kitchen, you want to follow these simple steps:
Step One: Identify Your Problem Areas
Our problem areas were everywhere… things had gotten a little out of control in most of our drawers and cupboards. Although we are fortunate to have a good sized kitchen, the space was not being used very efficiently. I hadn’t done a major re-organization since moving into this house nearly 6 years ago; and I’m not convinced that everything was put away in the best places during our initial move-in. We have three corner cabinets that are a little difficult for storage (even though two have lazy susans). We also have very few upper cabinets which means that we need to use our space wisely as that design feature has definitely reduced our overall storage capacity.
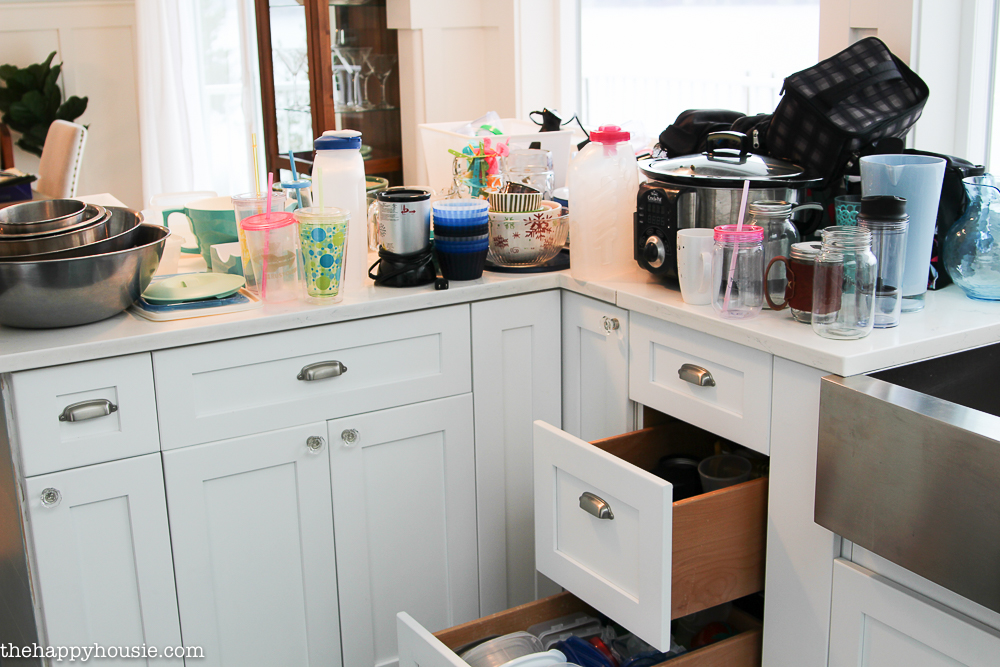
Here is a snapshot of how our cabinets and drawers were looking… I’ll share more specifics in the “before and afters” later in this post.


Pretty bad, right??
Jumbled. Disorganized. Overcrowded.
Step Two: Pull Everything Out! And I do mean everything!!
Really. Just do it. I know it’s painful. But unless you absolutely know in your heart of hearts that you are keeping something in a specific spot forever and ever until eternity, then pull it all out. Spread it on your counters or your kitchen table. Anywhere that will work and that you won’t trip over it and break an ankle in the middle of your organizing challenge…
It’s gotta get worse before it get’s better. A lot worse!


So you might notice I had a few lurkers in my corner cabinets. Items that I knew {in my heart of hearts} were going to stay in that spor
Now the real fun begins!
Step Three: Purge!
Be ruthless!
Do you use it? Have you ever used it? Do you like it? Does it work properly? If no, it goes.
Do you have more then one of it/them? If yes, then it goes.
If you feel a niggling urge that you need it; then put it (or all items like that) into a box and put them away in your basement/garage/storage room. Give yourself a timeline for those items – like three months. If you haven’t needed it and it’s been sitting in your storage for 3 months, you probably don’t need it.
And don’t give into “gift guilt”. Just because someone gave you an item doesn’t mean you need to keep it forever and ever and eventually be buried with it. You can be thankful for having received the gift and still let go of it. If you do, you are giving yourself an even bigger gift of freedom from clutter and creating an organized home, right? So what’s more important?
I had a lot of things that I didn’t need or use or that were not functional anymore that I let go.
Yay! Three boxes full plus a garage bag!

Now that you haven’t gotten rid of everything that you don’t need, don’t use, or that is broken; it’s time to assess what all you have left.
Step Four: Rethink your positions
Look around your kitchen at the spaces available and think about grouping “like” items together. Instead of a higgilty-jiggilty messy mcmess, your kitchen supplies can go back neatly into locations that make “sense”. Dishes near the dishwasher. Pots and pans and spices near the stove. Extra appliances you don’t use very frequently tucked into those harder-to-access spots. It’s time to designate a space for all that you have left!
Step Five: Assess your storage needs
Don’t buy your storage baskets before. Buy them after, when you know what you actually need to store. I did that for our pantry makeover last year; and they are still super functional. This year I didn’t even buy any new storage baskets, I just repurposed some that I had on hand and was no longer using in other areas in our home {see, there are actually times when being a semi-hoarder pays off}.
If you have a kitchen that is fairly tight on space, you may want to consider some creative storage solutions. I shared 20 cute and creative kitchen storage and organization ideas just the other day…
I shared some great storage item options at the bottom of this post, as well.
Step Six: Assign everything a place and put it where it “belongs”
Once you have assessed what you have, grouped LIKE items together, and scrounged up or purchased any baskets of storage tools that you might need, then the time has come to put it all away again! Let’s take a look at how our kitchen looks once I got it all put back together…
Our before and afters:
Let’s start with my fave; the utensil drawer. We also store the larger and most frequently used utensils in a large jar on our counter (beside the stove). The items are separated with clear plastic bins from the dollar store.

Now for the appliance cupboard… what a difference, right? I moved all the bowls to the lazy susan next store, freeing up room to group many of our appliances together in a way that makes sense (the crock pot, rice cooker, blenders, food processor, and coffee grinder).

Above the fridge…party supplies etc. that survived the purge were grouped together, along with large plastic trays and bowls for outdoor summer entertaining.

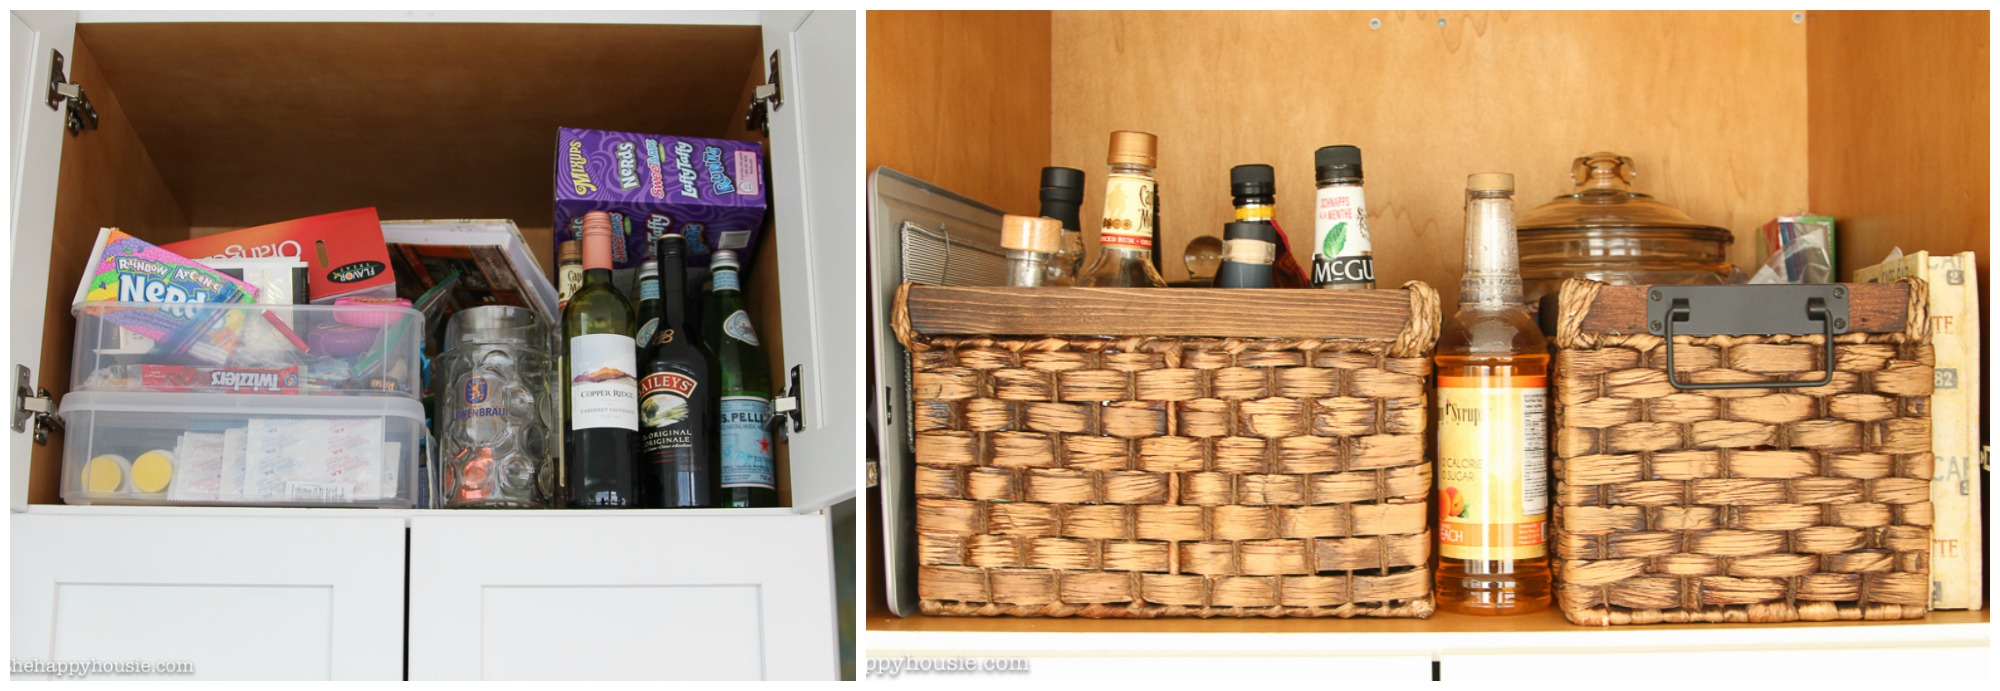
Above the pantry was a hodge podge of candy, vitamins, and spirit bottles. All the candy is sequestered to the giant glass jar you can see peaking up behind the baskets. And the vitamins and spirits are grouped together in the baskets. My lone cookbook made the cut and is kept up here (full of hand written recipes – everything else I get online).
The cutlery drawer! I love my new bamboo cutlery tray; it’s expandable to fit any sized drawer from 10-20″ wide. School forks/spoons and serving cutlery are tucked behind it.

The glasses and microwave area are much cleaner and more organized looking. I even got my husband to finally put the plate cover on the electrical outlet inside this cupboard (why it’s there, I’m not sure – it was a kitchen renovation leftover). All the round placemats are now above the fridge which cleaned up the area beside the microwave.

The lazy susan for dishes… the items on the top shelf were purged or moved to another spot – and the smaller baking dishes and ramekins were grouped together in a basket on the bottom lazy susan shelf.

A large dish and bowl drawer. We finally let go of most of those kid’s cups; the ones we kept went in with the tupperware.

The pots…

The pans. I invested in some new frying pans since ours were all wearing out- the handles were broken and the finish was scraping off. It was time.

And a couple of other areas that I don’t have “before” pictures of, but that look really pretty and well-organized now:
The coffee station and our open shelving…


The spice drawer (the long drawer right below the microwave)…

Useful storage on the countertop…


The “Tea Station” {more about this coming tomorrow!!}…

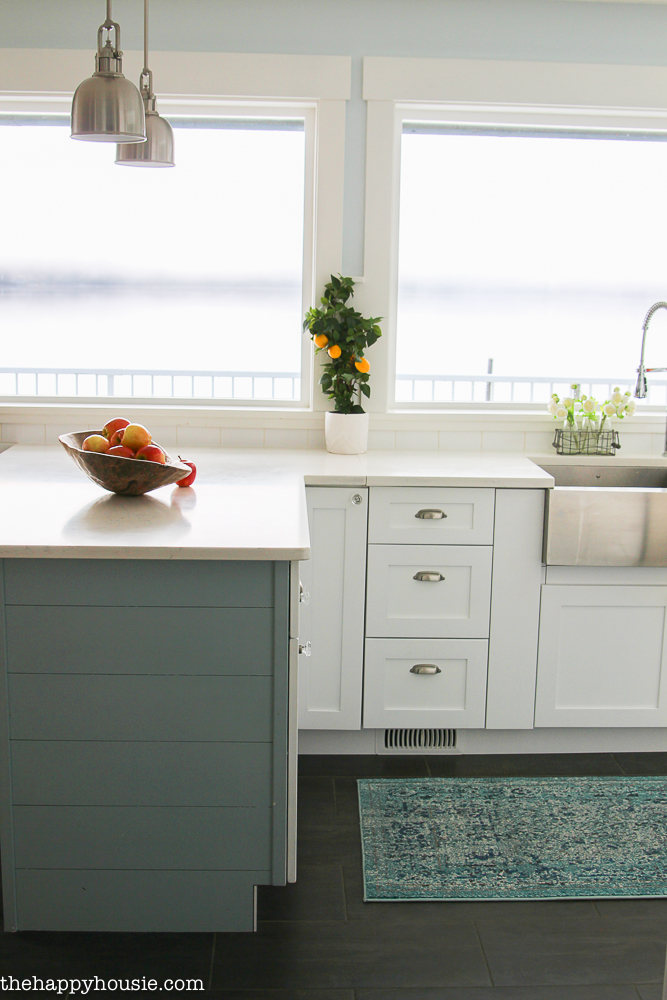
Around the sink…

And under it… {we keep most of our cleaning supplies in the laundry room and only keep some white vinegar and a kitchen spray in the back of this cabinet).


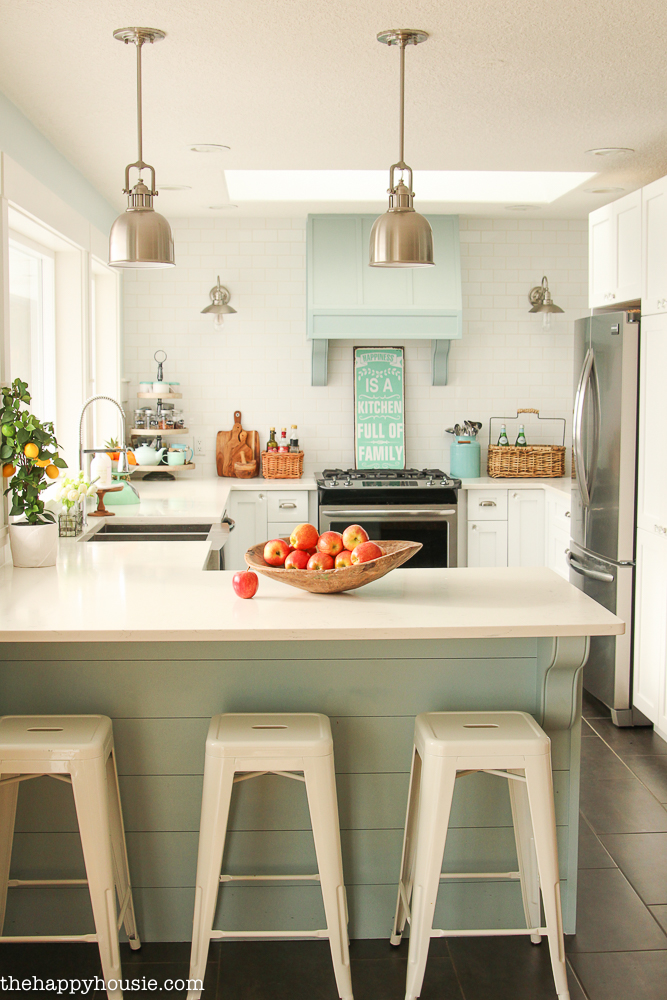
It feels incredible knowing that we don’t have anything unnecessary cluttering up our kitchen and that all that lurks behind the cabinets is now as well-organized and pretty as it looks on the surface.


Looking for some kitchen organization pieces?
Or some beautiful kitchen decor finds?

Good luck with your project!
It feels so good to get the kitchen into shape; it makes all the effort well worth it!
I’ll be back tomorrow to share all about my tea station; and then I might pop in this weekend to share my tips on organizing your fridge and pantry.
I have some other amazing pantry posts here:


How to Completely Organize Your Pantry / 20 Incredible Small Pantry Organization Ideas & Makeovers / Free Printable Weekly Meal Planner and Shopping List Planners
Join the challenge!
Sign up to have The 10 Week Organizing Challenge sent to you weekly!

Original article and pictures take thehappyhousie.porch.com site
Комментариев нет:
Отправить комментарий